Showing posts with label bread. Show all posts

Monday, June 6, 2011

Challah!


Challah is one of my favourite types of bread.  It makes great toast, french toast, sandwiches, garlic bread, croutons... it pretty much works for all your bready needs.  I've been meaning to try my hand at making it for a while now, but for some reason I thought it was super complicated and the recipe I have calls for saffron.

But today, I got past my mental challah block and dove in!  (Sans saffron)

Challah is actually an amazingly simple bread.  Even the braiding which makes it look so fancy is simple (we all know how to braid, right?)  And with a few birds in the yard, the number of eggs challah requires for its signature deliciousness is no obstacle!

Challah

1/2 c flour
2tbsp sugar
1 1/2 tsp salt
Whatever spice you want, however much you want (I used a healthy pinch of cinnamon)
1 packet or 2 1/4 tsp yeast
1/3 softened butter

Sift together dry ingredients and thoroughly mix in butter.

1 c water (105-115 F)
3 eggs
1 egg white (save yolk for later)
1/2 c flour

Add water to dry ingredients slowly while mixing - either by hand with a wooden spoon or with your electric mixer.   Add eggs and egg white.  While getting mixy, add flour.

More flour!
(about 4 c)

Continue mixing.  Add flour, 1/2 c at a time, until you have a good dough.  

Turn out onto a lightly floured surface and knead until stretchy and smooth.  If you have a mixer with kneading hooks, use that, cause, way easier.  This will take around 10 minutes.

Grease a large bowl.  When dough is kneaded properly, place in greased bowl.  Roll dough around to ensure that all sides get greasy.  Cover and leave in a warm place.

Do something else for 1 hour.

After your hour is up, find your dough and punch it in the face a few times.  Split your dough in half  and flour a flat surface for some braiding fun!

Split half the dough further into thirds.  Roll each third out into a 12" long dough-string.  Braid them together and pinch together the ends.  Place your braided dough onto a greased cookie sheet and repeat this step with the second half of the dough.

1 egg yolk
1 tbsp cold water
Some kind of seeds - poppy, sesame, anise, whatevs. 

Beat the yolk and the cold water together.  Brush on the tops of your braids.  Sprinkle whatever seeds you chose on the top until it looks good to you.

Cover and leave in a warm place.

Walk your dog or something for another hour.

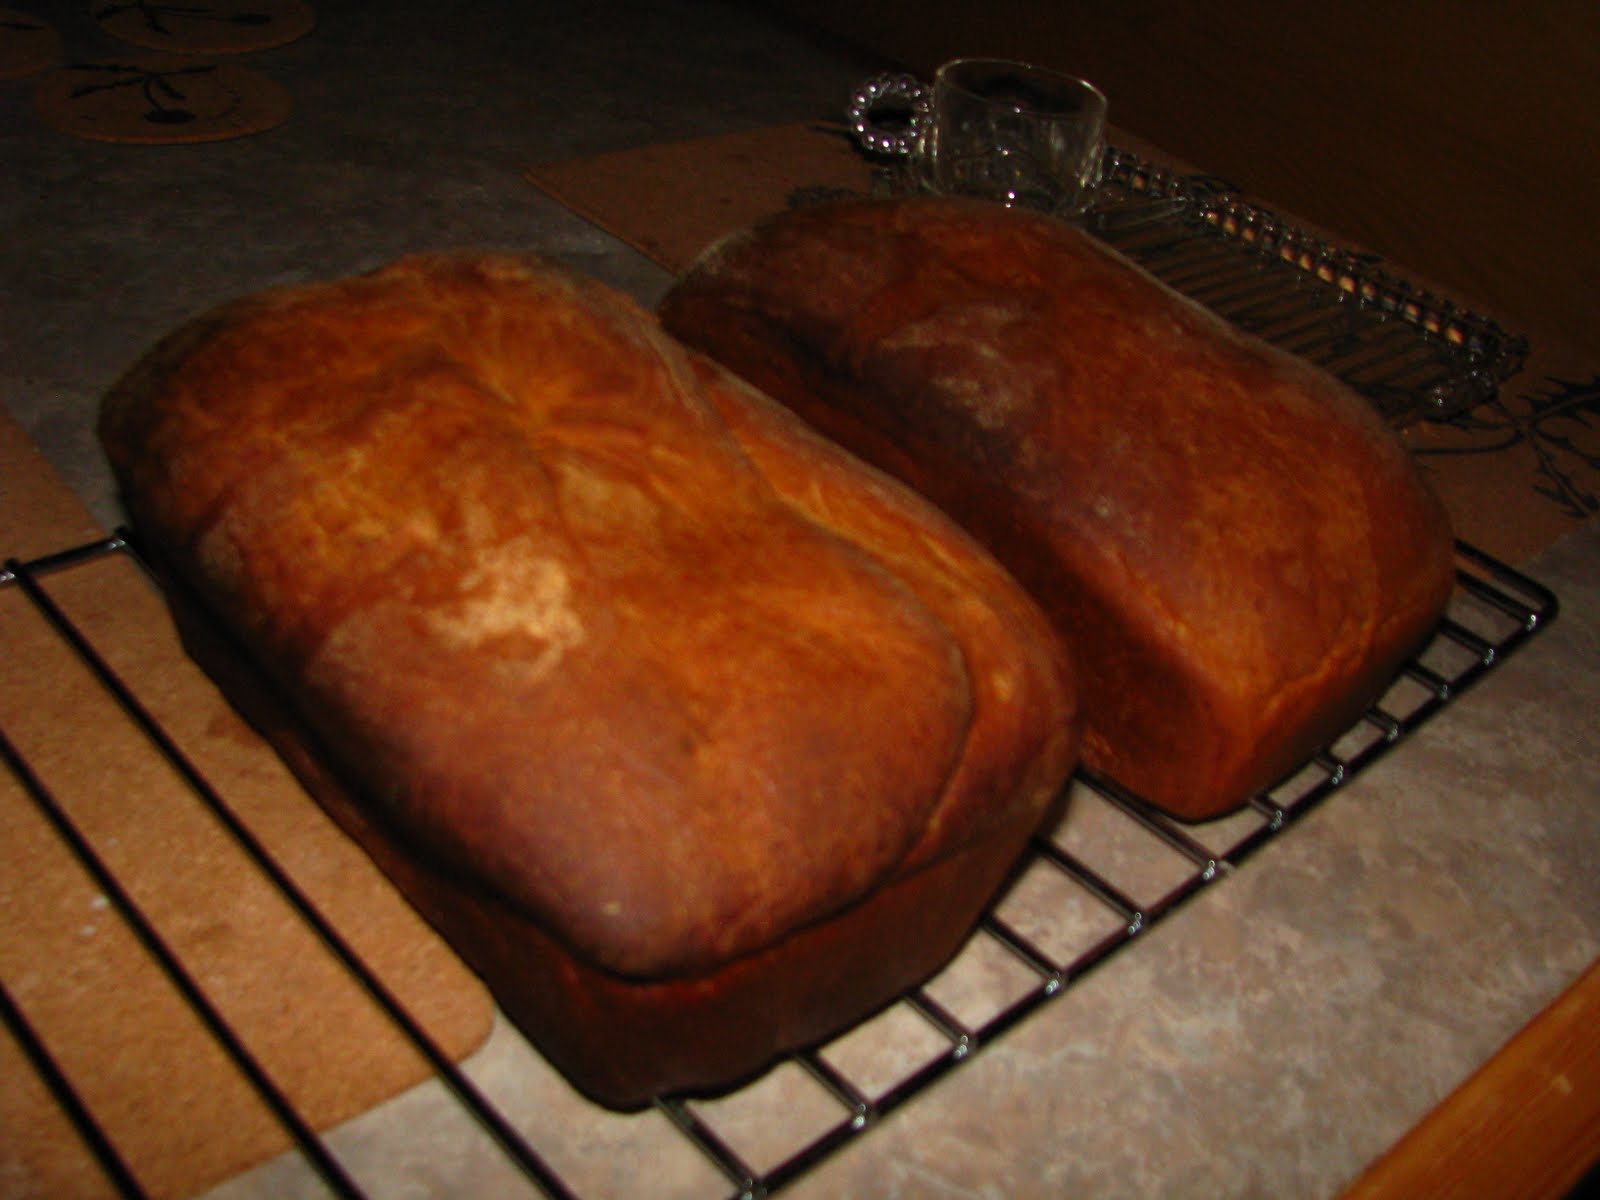
Preheat your oven to 400F.  Bake 20 minutes.  Remove from sheet and allow to cool on wire racks.  Share - or not, depending on how hungry you are.

Monday, February 21, 2011

Andama!


For a dinner party last night, I decided to make the last bread that my bread machine ruined: Andama. Judging from the amount of unsolicited compliments it received, it's official: Humans rule, Bread Machines drool.

Andama is a delicious easy way to use up that molasses that's been sitting in your cabinet for ages. This time my recipe came wholesale from McCall's Home Baked Breads, c1965, no changes or additions needed.

McCall's Andama

3/4 c boiling water
1/2 c yellow cornmeal
2 tsp salt
3 tsp butter
1/4 c molasses

First, lightly grease a loaf pan.

In the bowl you plan to be mixing in, mix boiling water, cornmeal, butter, molasses and salt. Stir until all melty and combined. Set aside and allow to cool to lukewarm.

1/4 c warm water (105-115 F)
1 pkg or 2 1/4 tsp yeast

Sprinkle yeast over warm water in a bowl or measuring cup. Stir until dissolved. Add to warm molasses mixture.

1 3/4 c sifted all-purpose flour
1 egg

Add flour and egg to yeasty molasses mix. With a wooden spoon or fancy mixer, stir until smooth.

1 c sifted all-purpose flour

Gradually add the rest of the flour while stirring. Continue mixing until dough is thick enough that it no longer sticks to the sides of the bowl.

Place dough in your pre-greased loaf pan, smoothing with a greased spatula (or your clean hands, like I did) so that it fills the pan evenly with the dough touching the sides of the pan Cover and place somewhere warm, like the oven with the light on.


Forget all about your bread for about 1 hour 30 minutes
(Or until double in bulk)

Sprinkle the top of your bread with salt and cornmeal.

Preheat oven to 375F

Bake 50 to 55 minutes, or until bread is solid enough to rap with your knuckles without giving.

Remove from pans immediately and cool on wire racks. Brush tops with butter (I used olive oil).

Eat as you will!

Tuesday, February 1, 2011

Spiced Honey Wheat Bread

The second loaf of bread to be destroyed by my bread machine was a Spiced Honey Wheat Bread. On Monday, I recreated it with my own two hands. According to boyfriend, who had a slice for breakfast this morning, the hand-made version was "sofaking good!"

This one was easier to recreate. I just made a basic honey wheat bread and added spicy goodness. I went out for 3 hours during the first rise, and cooked it at the wrong temperature, but even with all those mistakes, it still turned out way better than the Breadman disaster of 2011.

Here's a recipe to try at home!

Sofaking Good Spiced Honey Wheat Bread

1 c milk
2 tbsp sugar
1 tbsp salt
1/4 c butter
1/2 c honey

Heat milk over medium heat until bubbles form at edges. Remove from heat and add the other goodies, stirring until butter is melted and everything else is dissolved. Set aside and allow to cool to lukewarm.

1 1/2 c warm water (105-115 F)
2 pkg or 4 1/2 tsp yeast

Sprinkle yeast over warm water in the bowl you will be using for mixing. Stir until dissolved. Add warm milk mixture.

2 1/2 c sifted all-purpose flour
2 1/2 c unsifted wheat flour
1 tsp cinnamon
1 tsp cardamom
1/4 tsp ground cloves

Add flour and spices to yeasty milky mix. With a wooden spoon or fancy mixer, stir until smooth.

2 1/2 c unsifted wheat flour

Gradually add the rest of the flour while stirring. Continue mixing until dough is thick enough that it no longer sticks to the sides of the bowl.

Turn dough out onto a lightly floured surface. Cover with bowl and walk away for about 10 minutes. Check your email.

When you come back, knead the dough until smooth and elastic (about 10 minutes)

While you were checking your email, you probably should have been greasing a large bowl. Anyway, do that now. Move your finished dough to the buttery bowl, turning the ball over so that all sides get greasy. Cover with a towel and place someplace warm (I like the oven with the light turned on).

Forget all about your bread for about 1 hour 15 minutes.

When you start thinking about your bread again, prepare 2 breadpans, lightly coating them with butter or veggie oil, or your preferred greasy substance. Also flour a surface and your hands, cause you're about to get real familiar with your dough again.

Turn your dough out onto the floured surface and divide in half. Shape into 2 balls. Walk away for 10 minutes again.

When you come back, shape your balls into loaves:

Stretch dough out to approximately 27 inches long.
Fold into thirds, like a letter.
Pinch ends closed and roll into a cylindrical shape.

(Image from McCall's Home Baked Breads, c1965)
Image j is after 2nd rise, so don't worry if your bread doesn't fit its pan like that just yet.


Once you have both loaves in their pans, again, cover with a towel and leave in that warm spot for another hour and 15 minutes.

Preheat oven to 400F

Bake 40 to 50 minutes, or until bread is solid enough to rap with your knuckles without giving. If you want lighter crust (which I recommend) try to remember to cover the loaves with foil for the last 20 minutes of baking.

Remove from pans immediately and cool on wire racks.

Enjoy with tea and jam. Possibly Nutella, if you have some around.

Monday, January 24, 2011

Chocolate Hazelnut Bread


After my failed experiments with my bread machine, I thought I'd attempt to make all the ruined breads the old fashioned way, just to make sure that it really was the bread machine's fault.

Here, you can see the delicious result!


Of course, this time, the white splotches are a dusting of powdered sugar. And the bread rose beautifully. And, because I mixed in the hazelnuts by hand, they are evenly spread throughout this chocolatey sweet bread.


I had to invent a recipe for this one, because bread machine recipes always require weird amounts and not enough yeast. And after having eaten a slice for breakfast, I can confidently say that my recipe tested very well.

Try it yourself!

Sarielle's Chocolate Hazelnut Explosion Bready Cake Goodness

1/2 c milk
1 c white sugar
1 tsp salt
2 tbsp butter

Heat milk in a small saucepan over medium heat until bubbles form at edges. Remove from heat and stir in sugar, salt and butter until dissolved. Set aside and allow to become lukewarm.

1/2 c warm water (105 to 115 degrees Farenheit)
1 packet or 2 1/4 tsp yeast

Sprinkle yeast over warm water in the bowl you will be using for mixing. Stir until dissolved. Add milk mixture.

4 eggs (beaten)
3 1/2 c all-purpose flour (sifted)
1/2 c baking cocoa

Add eggs, cocoa and 1 1/2 c flour to mixture. Stir until smooth. Add remaining flour and again, stir until smooth. Dough will be batter-like.

Cover with a damp towel and place in a warm spot, such as the oven with the light on, and allow to rise until bubbly (about an hour).

1 c toasted, skinned and chopped hazelnuts

If you are starting with whole hazelnuts, because you're cheap like me or you are lucky enough to have your own hazelnut tree, start by measuring out the hazelnuts into a baking pan. Toast in the oven at 350 degrees F for about 15 to 20 minutes. Skins should fall off with only a little encouragement. Put skinned nuts into a food processor and smash!

When dough is ready, stir with a spoon. Add hazelnuts and stir lightly.

Grease a tube pan or bundt pan. If using a bundt pan, be sure to grease every nook and cranny thoroughly, and then lightly flour it. I used butter, but I've read that vegetable oil painted on with a brush works very well.

Pour dough into pan, cover with a damp cloth and put it in that warm spot again for about another hour and a half, until double in bulk.

Preheat oven to 350F

When your dough has filled up its pan nicely, bake 45 minutes. Remove from oven and allow to cool in pan completely on a wire rack.

Carefully remove from pan (you may need to pry gently with a rubber spatula if you used a fancy bundt pan like I did). Dust lightly with powdered sugar, if desired.

Stand back and admire your work. Send a photo to your grandmother.

Eat! Make sure to share, though. It's a lot of bread.


Monday, January 17, 2011

Me vs. The Bread Machine

For Xmas and my birthday, my mom got me a Breadman breadmaker.

I've been making bread by hand for a while now, so I think that's why she was so inspired. A few years ago, I had found an old Sunbeam Mixer (circa 1970s) at the Goodwill for $15 - one that came with kneading hooks! Just recently, I had gotten into the habit of making some bread every Sunday afternoon, with my own hands. So when I opened up the giant box on Xmas morning, I was a little confused and disappointed.

"Just give it a try," my Mom implored. "At the very least you can use it for mixing the dough and letting it rise."

I have to admit, the thing looks pretty cool. It's got a gajillion settings, a collapsible kneading paddle, so it won't leave a creepy hole in your bread like most machines do, and a fruit and/or nut and/or chocolate chip auto dispenser. Plus, it's awfully shiny. So, I plugged it in and gave it a try.

Round 1: Chocolate Hazelnut Bread.
Me: 0
Breadman: 1


For my first try, I thought I'd make something sweet. I'm a huge Nutella fan, so I thought I'd try out the Chocolate Hazelnut Bread recipe.

Well, the bread didn't rise. The kneading paddle didn't fall like it was supposed to, so my bread had a gaping hole in the bottom. And the nut dispenser just dumped all the hazelnuts into one side of the bread. And, lastly, it had some kind of weird burnt flour shell.

I figured maybe I had mis-measured the liquids, and that maybe my yeast was too old for the machine to work with. So, I went out and bought some fresh bread-machine yeast.

But it was still delicious, at least.


Round 2: Honey Wheat Bread.
Me: 0
Breadman: 2


This time, I needed a recipe that would use milk, but not eggs. I had just bought some local honey, so...

This one was a disaster. The kneading paddle popped out in what appears to be the first kneading cycle. The chickens had a feast that day.

This time, I thought maybe I didn't put the kneading paddle in firmly enough. Next time, I thought, I'll be more careful.


Round 3: Andama.
Me: 0
Breadman: 3


It's hard to see what went wrong in this photo. But the bread rose, and then collapsed in on itself. The sunflower seeds are all on one side of the bread. And the kneading hook popped off again, this time in the second kneading cycle, so it's baked somewhere in the center, but at least it looks relatively bread shaped, this time.

Maybe I used too much yeast. But I sure as heck made sure that kneading paddle was secure.

At least, once again, the bread was still delicious.


In conclusion: Breadmachines, at least this one, appear to require so much babysitting that having a machine do the work for you appears to be pointless. The results are much much better when I do it myself. I've NEVER had my bread not rise or collapse when I'm in charge of it. If I have to check on the machine every 20 minutes to make sure it hasn't screwed itself up, I fail to see where the convenience is.

Whaddya think, should I return the thing, or keep trying to make it work?